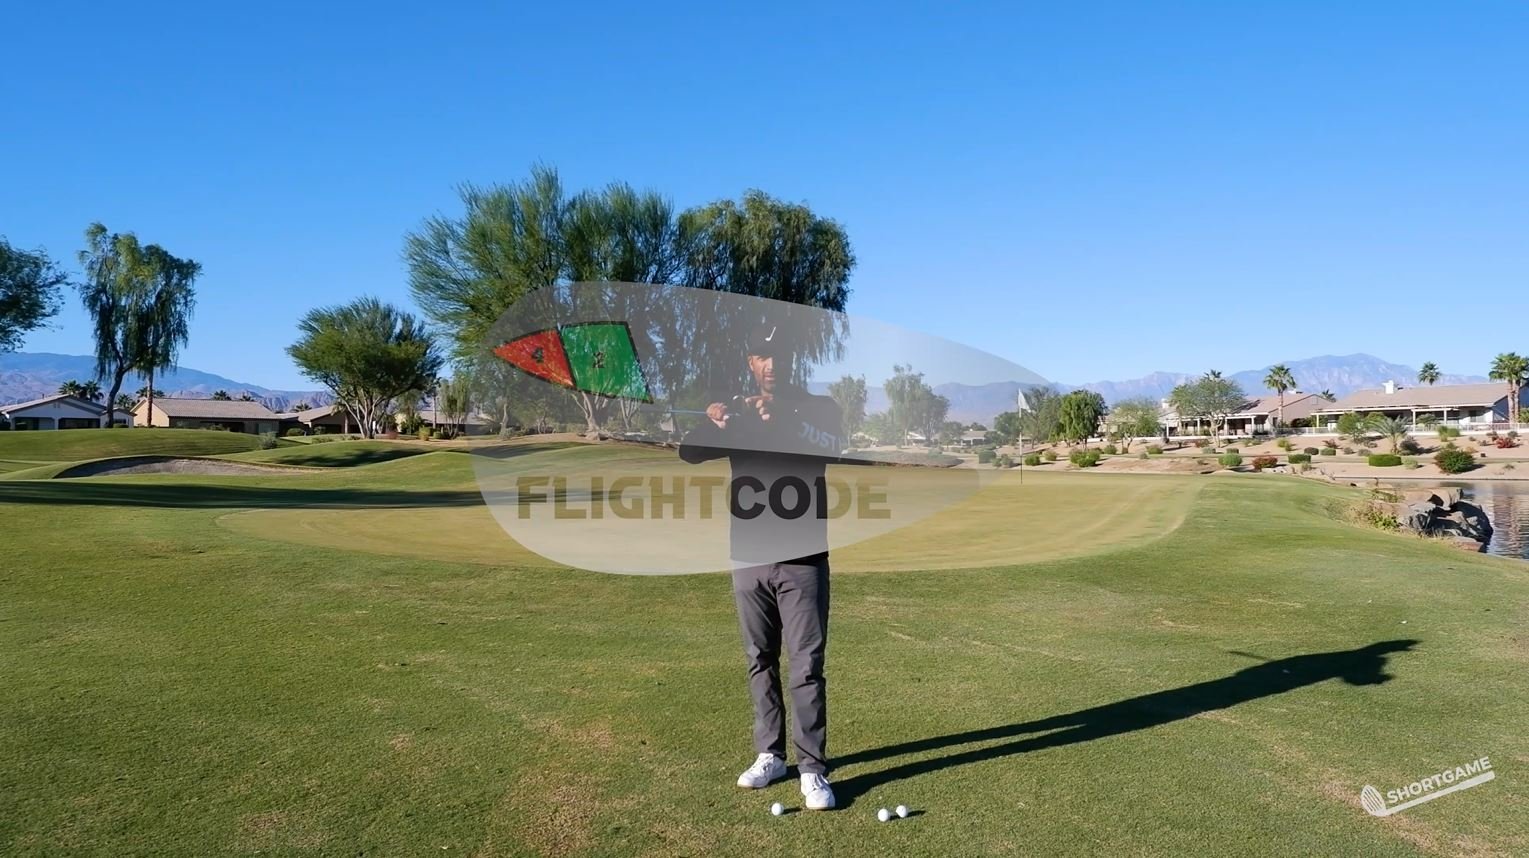
A quick overview of the sole - how the club is positioned at setup.
8 Total sole positions with different amount of shaft lean and lie angles.
Effects of the sole position include:
Shaft Lean
Angle of Attack
Turf Interaction
Trajectory
Ball Speed
Spin
Sole # 1 Setup
Shaft Lean - 5-10* (shot depending)
Lie Angle - True to the lie angle of the club
Face Aim - Square to the intended target
Stance Width - Shot depending with the range of 2 inches to 12 inches wide.
Ball Position - Positioned behind the midline of the body and Infront of the inside of the trail foot.
Sole # 2 Setup
Shaft Lean - 0-3* (shot depending)
Lie Angle - True to the lie angle of the club
Face Aim - Square to the intended target
Stance Width - Shot depending with the range of 2 inches to 12 inches wide.
Ball Position - Can be positioned between the midline of the body and the inside of the lead foot.
Sole # 3 Setup
Shaft Lean - 0-3* (shot depending)
Lie Angle - 2-10 * more upright (shot depending)
Face Aim - Open to the target (approx. 1.5* open for every degree the club moves more upright)
Stance Width - Shot depending with the range of 5 inches to 20+ inches wide.
Ball Position - Can be positioned between the midline of the body and inside the lead foot.
Sole # 4 Setup
Shaft Lean - 0-3* (shot depending)
Lie Angle - 2-10* more flat (shot depending)
Face Aim - Square to the intended target.
Stance Width - Shot depending with the range of 2 inches to 12 inches wide.
Ball Position - Positioned with the midline of the body.
Sole #31 Setup
Shaft Lean - 5-10* (shot depending)
Lie Angle - 2-10 * more upright (shot depending)
Face Aim - Open to the target (approx. 1.5* open for every degree the club moves more upright)
Stance Width - Shot depending with the range of 5 inches to 20+ inches wide.
Ball Position - Can be positioned between the insides of the trail and lead foot using the midline of the body for proper shaft lean position for the 31 sole.
Sole # 41 Setup
Shaft Lean - 5-10* (shot depending)
Lie Angle - 2-10 * more flat (shot depending)
Face Aim - Square to the intended target.
Stance Width - Shot depending with the range of 2 inches to 10 inches wide.
Ball Position - Can be positioned between the midline of the body the inside of the trail foot.
Sole # 32 Setup
Shaft Lean - 0-3* (shot depending)
Lie Angle - 2-10 * more upright (shot depending)
Face Aim - Open to the target (approx. 1.5* open for every degree the club moves more upright)
Stance Width - Shot depending with the range of 5 inches to 20+ inches wide.
Ball Position - Can be positioned between the midline of the body and inside the lead foot.
Sole # 42 Setup
Shaft Lean - 0-3* (shot depending)
Lie Angle - 2-10 * more flat or what is required to achieve the 42 portion of the sole to be contacting the turf. (shot depending)
Face Aim - Open to the target (approx. 1.5* open for every degree the club moves more flat)
Stance Width - Shot depending with the range of 5 inches to 20+ inches wide.
Ball Position - Can be positioned anywhere between the inside of the trail and lead foot to achieve proper shaft lean and lie angle at setup.
Swing Level represents the position of our hands in the backswing and finish position.
Swing Level Effects:
Distance Control
Trajectory
Angle of Attack
This video gives an example of a 2-2 Swing Level.
A simple way to identify your swing levels. We all use the same scale and method, however all of our swing levels are unique to each of us. This is how to identify your own and give you YOUR guidelines to Swing Levels.
Energy, simply the amount of effort applied into the shot. This can be measured by Club Head Speed. All of our energy levels are slightly different, however we all are going to use the same scale of 1,2,3,4. With 1 being the lowest level of Energy and 4 being the highest. Energy application can influence the following:
Club Head Speed
Ball Speed
Distance
Trajectory
Spin
An explanation of how changing the sole at setup and maintaining the sole through the swing has an influence on the amount of “hinge” allotted throughout the swing.